Pages

Friday, December 24, 2010

Merry Christmas!

Photobucket

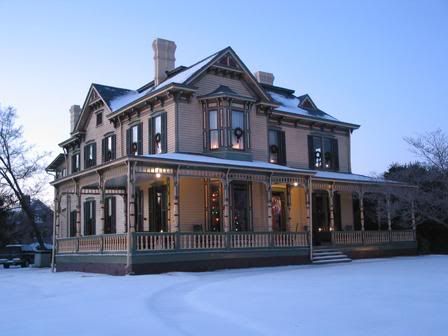
Merry Christmas from our house to yours! The photo above was taken in 2004 when we had a White Day-after-Christmas. Here's hoping this will be a White Christmas - the weatherman says it's a possibility! Our house was built in 1883 and we are restoring it back to the 1883 look. The exterior is painted in the original colors.

All of the wallpaper in our house is from Bradford & Co. which produces authentic reproduction Victorian patterns.

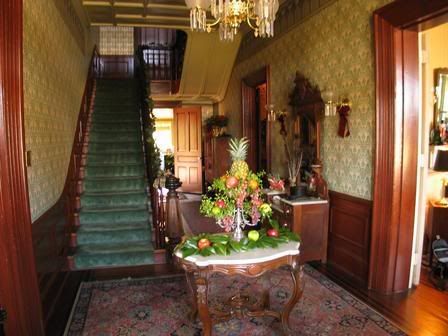
Step into the foyer
Photobucket

The marble-topped turtle table was my great-grandmother's which I inherited from my grandmother. We fill the epergne with fruit and greenery for Christmas. The staircase  has a garland of faux holly adorning it.

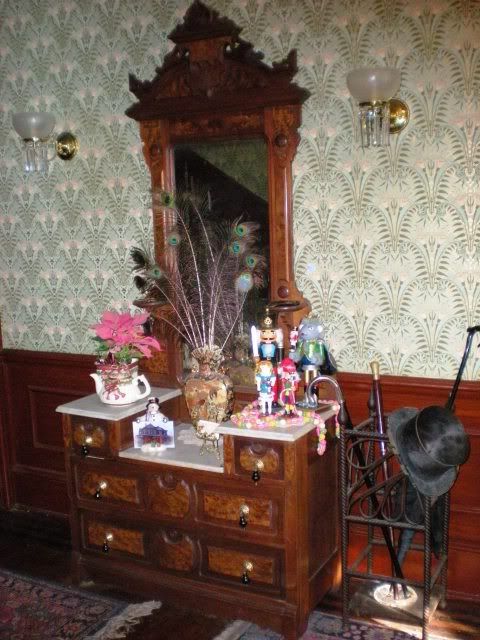
Here is a dresser which we use as a hall tree all decked out.
Photobucket

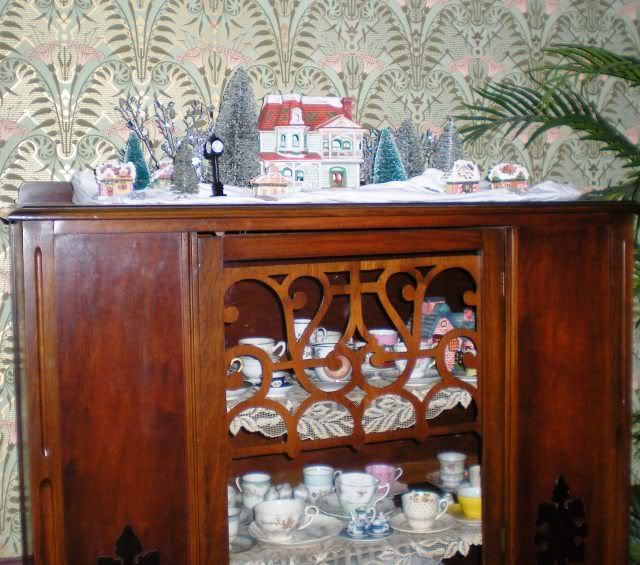
Farther back in the foyer, the top of a cabinet has a winter village on it.
Photobucket

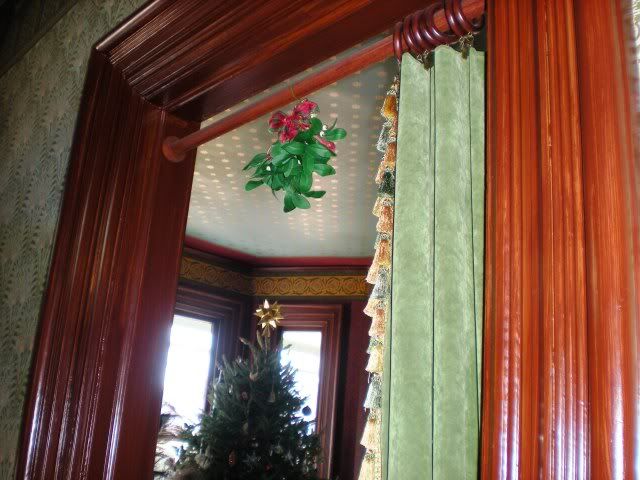
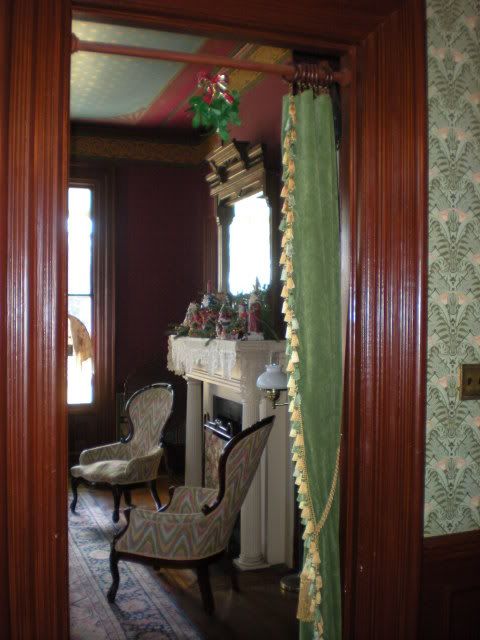
Stepping into the parlor, watch out...
Photobucket

You are under the mistletoe!

Photobucket

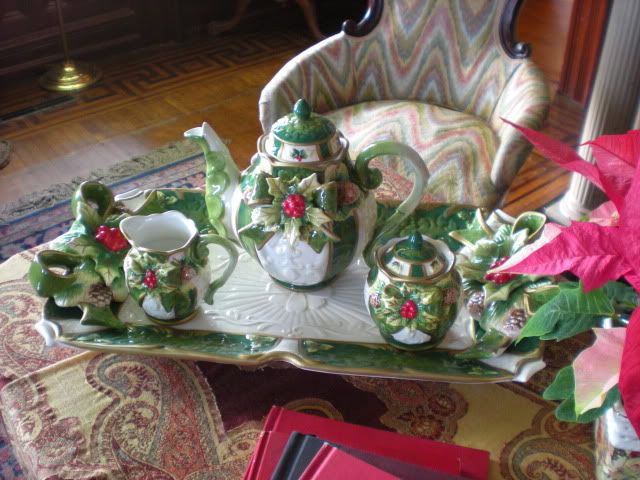
On the tea table in front of the sofa is one of my favorite Christmas tea sets.
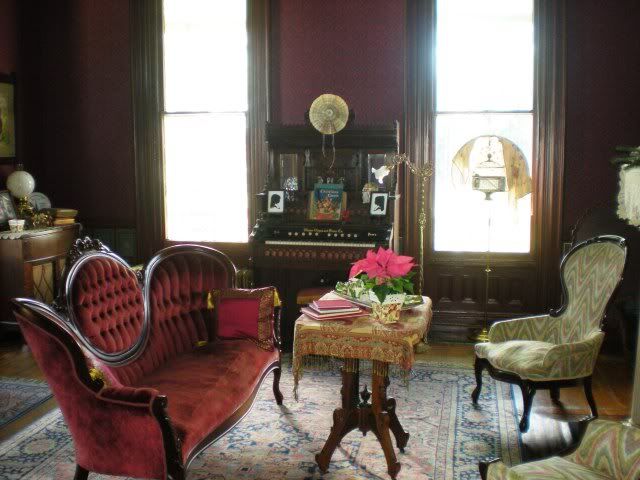
Photobucket

Photobucket

Santas and Sleighs decorate the parlor mantle
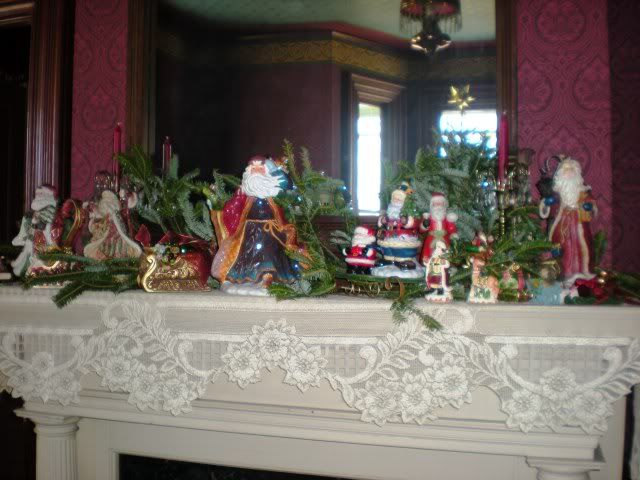
Photobucket

And in the bay window is our Christmas tree. It is always a production putting up the tree. This year it fell after it was decorated, but luckily no ornaments were damaged.
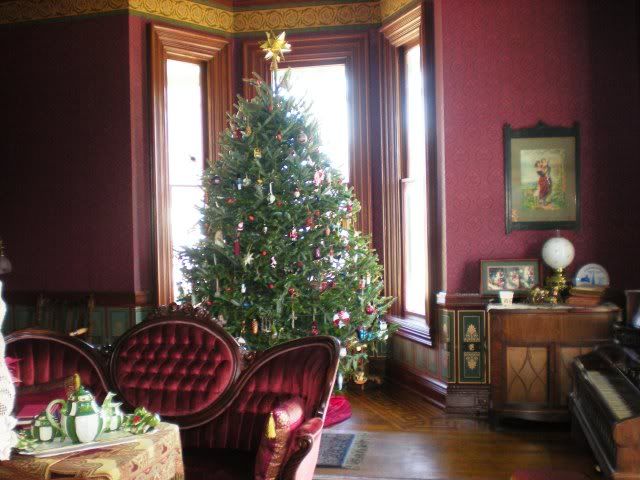
Photobucket

Next is the Billiards Room which we use as a Family Room
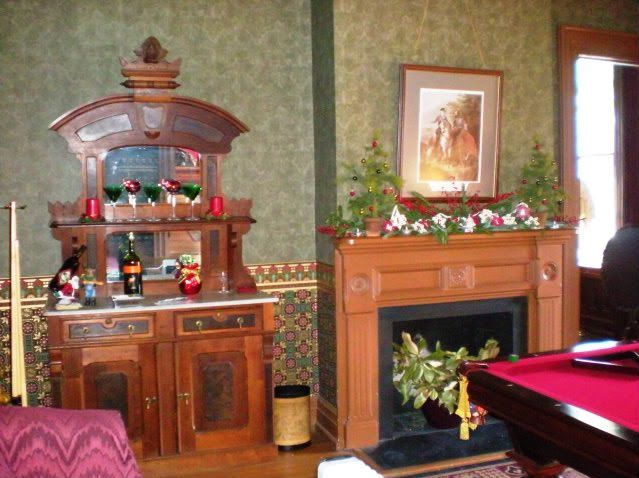
Photobucket

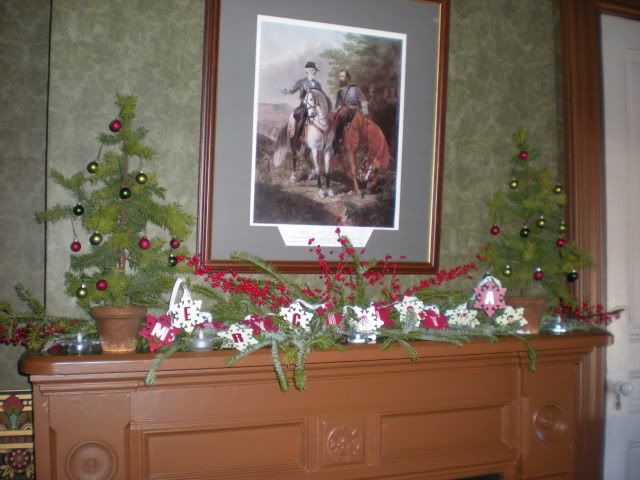
Here is a close-up of the mantle.

Photobucket

The small room off the Billiards Room

Photobucket

Photobucket

Then the Dining Room

Photobucket

Photobucket

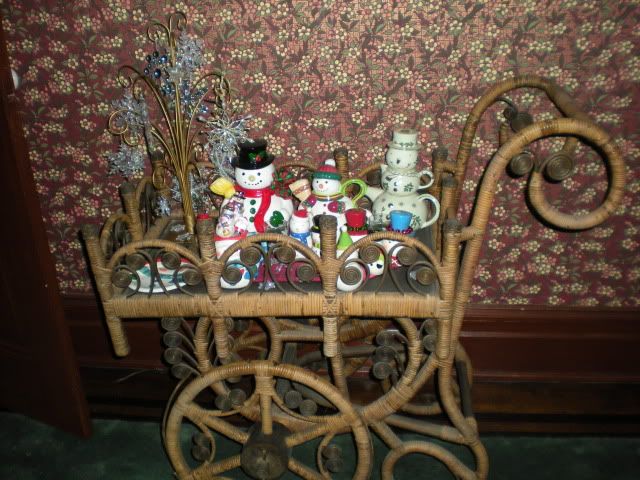
The tea cart in the Dining Room is full of snowmen.
Photobucket

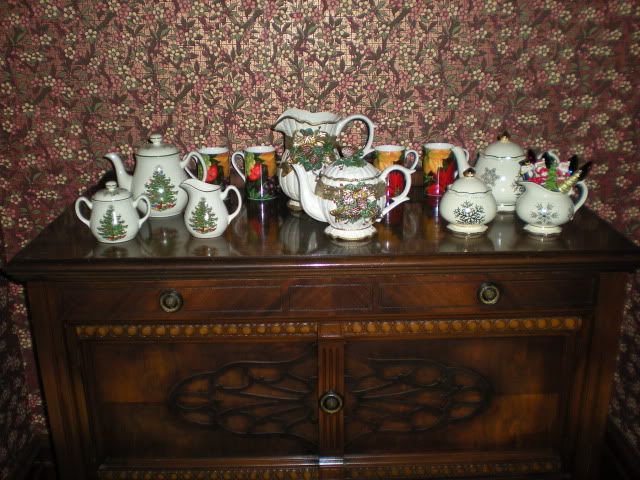
The smaller buffet has some Christmas tea sets.
Photobucket

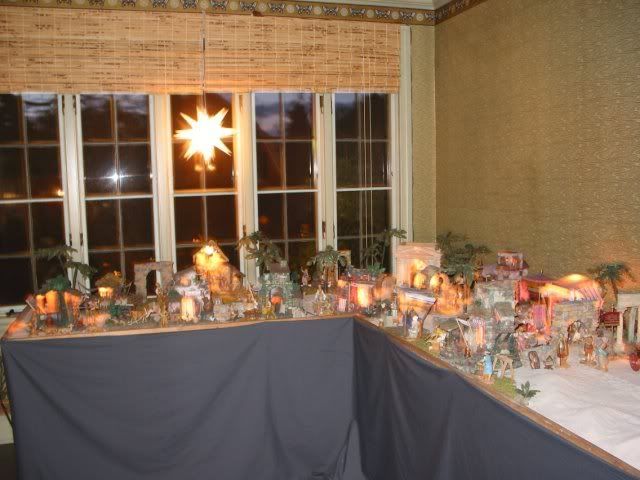
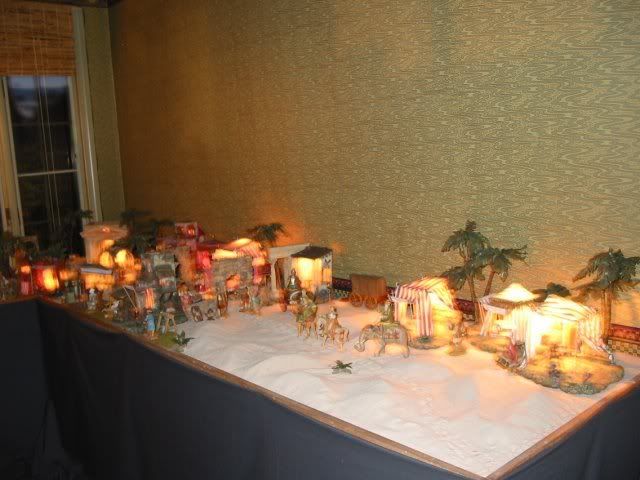
The sunroom in the back of the house has the Village of Bethlehem. Lots of people have a creche, but we have the whole village, complete with a desert!
Photobucket

Photobucket


Next is my husband's favorite room. Since he is a military history buff, we decorate the library with nutcrackers.

Photobucket

Photobucket

Photobucket

Merry Merry Christmas and a Very Happy New Year!
Wednesday, December 15, 2010

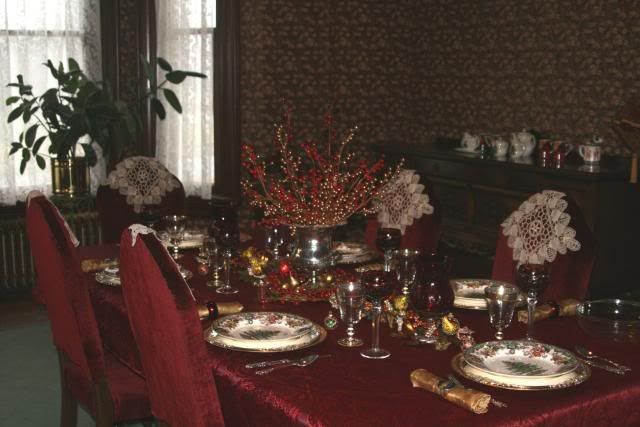
Jewel's Jeweled Fruit Christmas

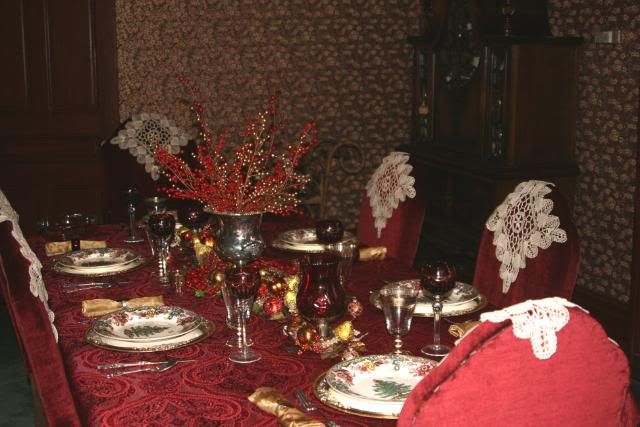
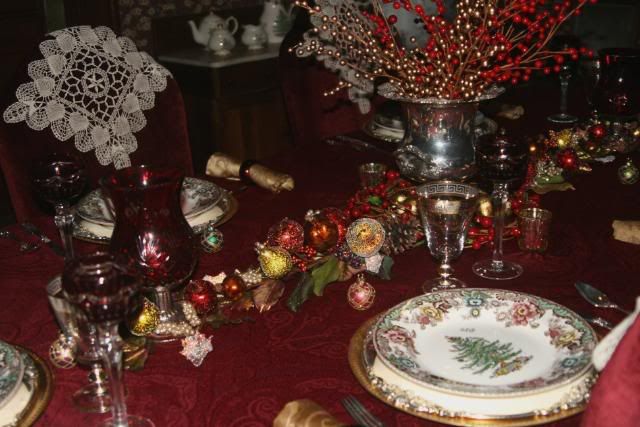
I haven't had time to change the table this week, so I am "recycling" a table from last Christmas. The fruit decorations from Michaels last year were called Jeweled Fruit, so I thought that it would be a fitting name for the tablescape!
Photobucket

Photobucket

Photobucket

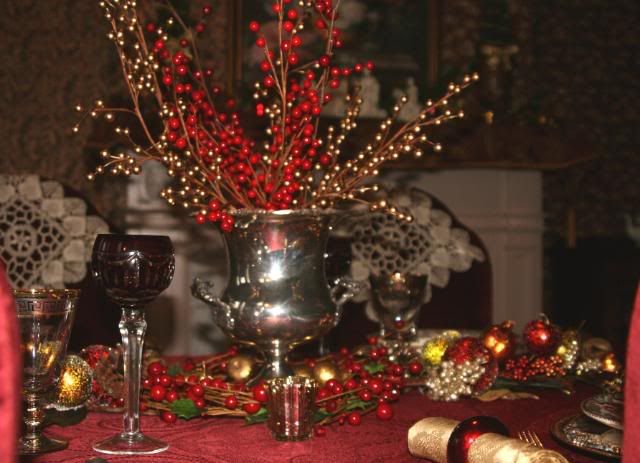
My centerpiece is some red and gold berries in my silver wine cooler.

Photobucket

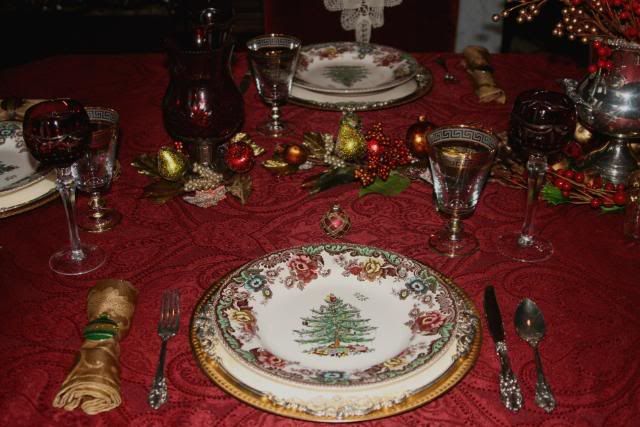
My china is Christmas Tree Grove by Spode. I feel in love with this pattern several years ago. The colors really fit my Victorian house and wallpaper.

Photobucket

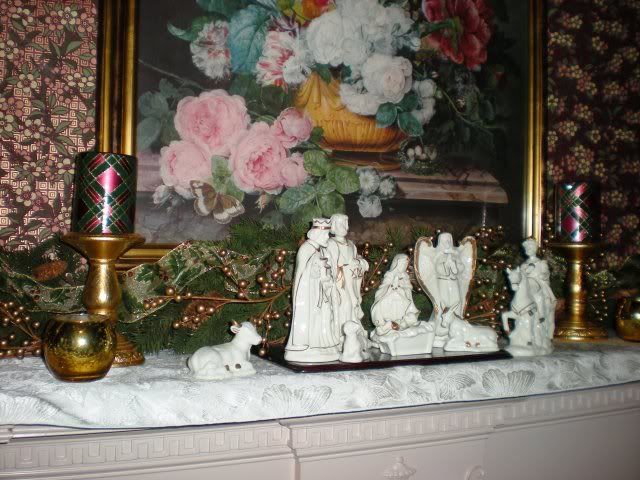
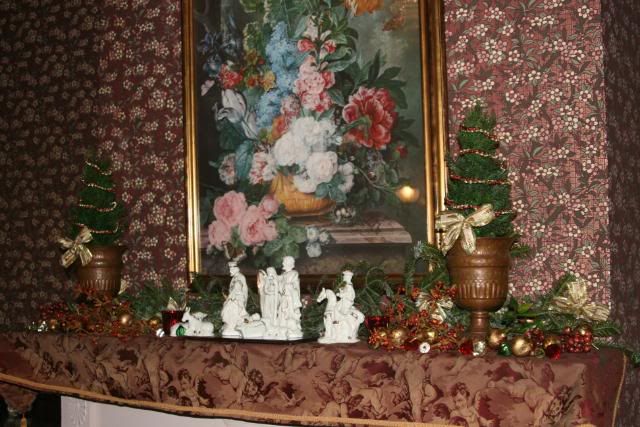
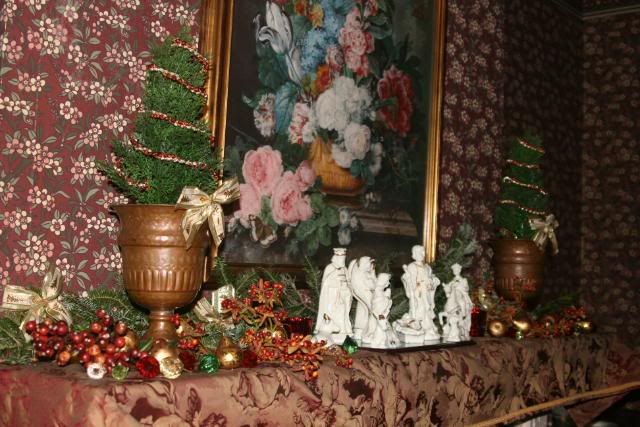
On the Dining Room Mantle is a white creche surrounded by more red berries and acrylic jewels with little Christmas trees in urns.

Photobucket

Photobucket

 I am linking to Between Naps on the Porch for Tablescape Thursday. Merry Christmas!

Tuesday, December 7, 2010

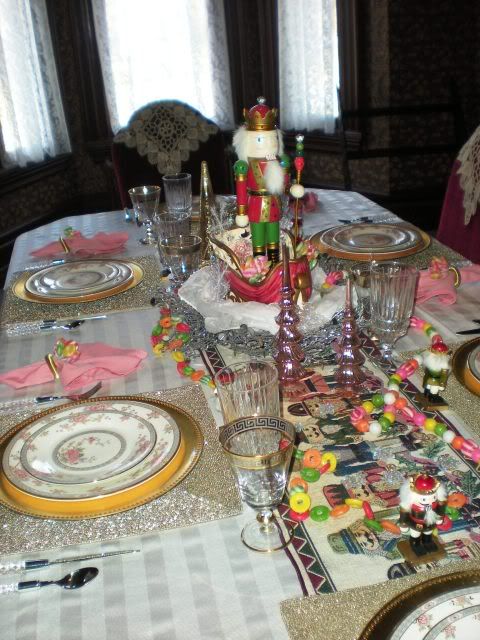
Nutcracker "Sweet" Tablescape

This weekend I went with my younger daughter and her friend to our local ballet performance of The Nutcracker. I thought a tablescape inspired by this music and ballet would be fun!

Photobucket

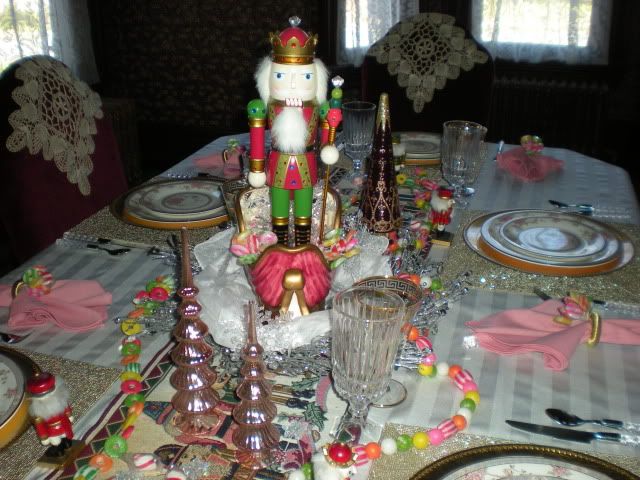
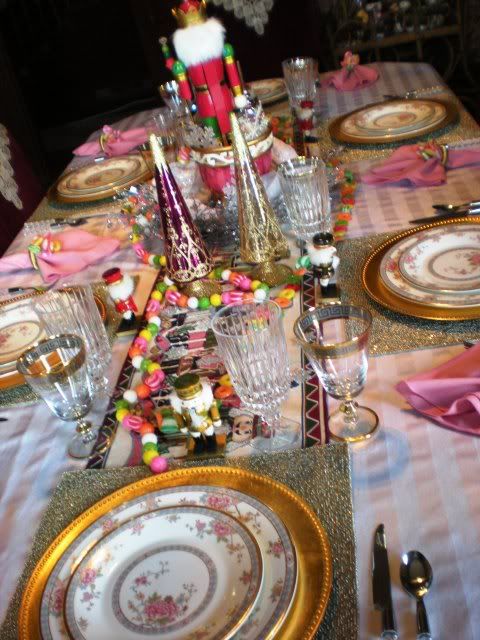
I started with a white tablecloth and added a nutcracker runner on it. I draped some faux candy garlands down the length of the table ( the Land of Sweets).

Photobucket

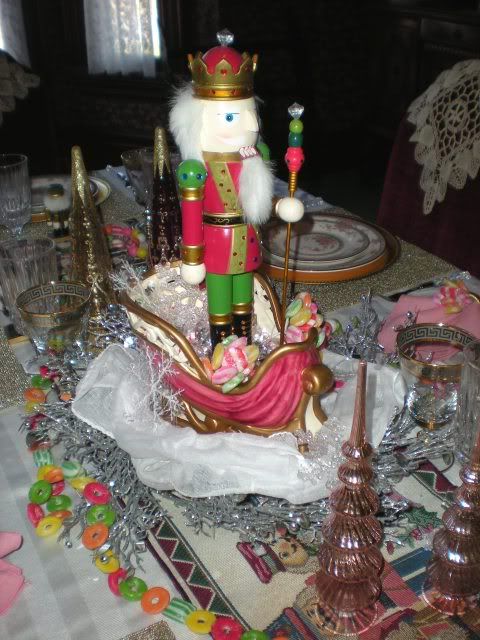
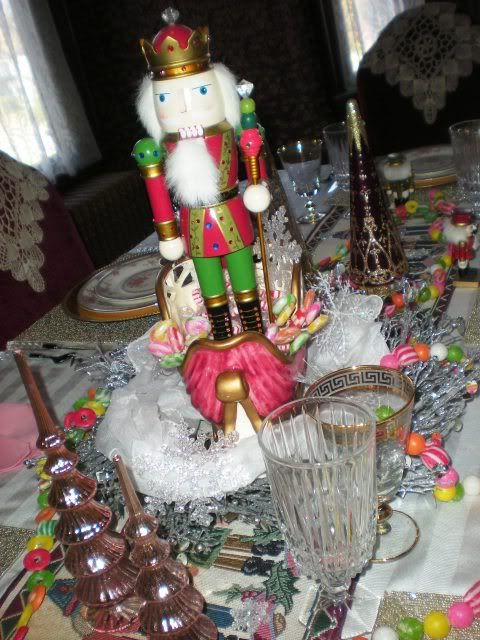
I chose one of our nutcrackers with a light burgundy coat to ride in the sleigh for the centerpiece. The sleigh is resting on a silver snowflake wreath ( The Waltz of the Snowflakes) and some cheesecloth. I was trying to represent not only snow and the dreamy quality of the story. I filled the inside of the sleigh with peppermints and some faux candy picks.

Photobucket

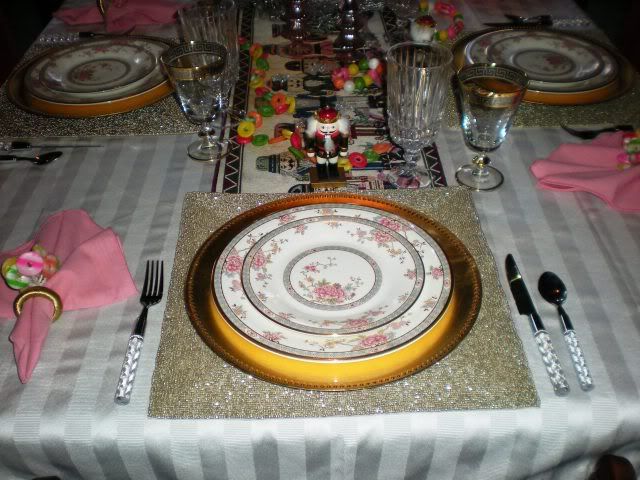
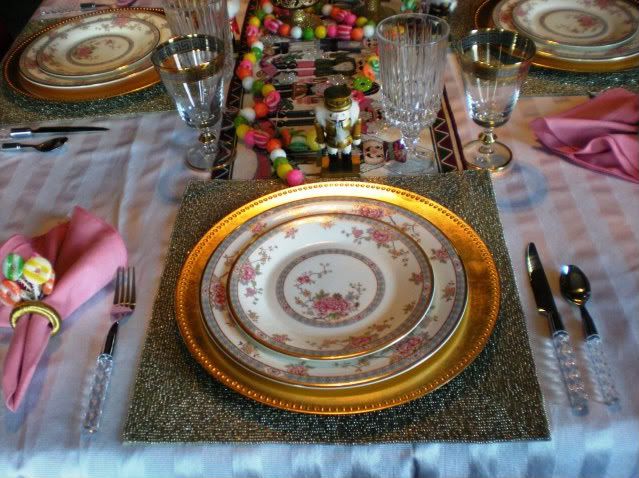
At each place I used my square beaded platinum chargers from Target topped by a gold plastic chargers. My china is Canton by Royal Doulton which is covered in pink peonies (The Waltz of the Flowers) and goes well with the pink accents throughout. I used clear acrylic handled flatware for an icy feel and one pattern of stemware with gold and silver accents and the other with a faceted look. I used pink napkins and metallic gold napkin rings with a faux candy pick placed in each. I also used mini nutcracker place card holders.

Photobucket

Photobucket

I surrounded the centerpiece sleigh with various glass tree toppers.

Photobucket

Photobucket

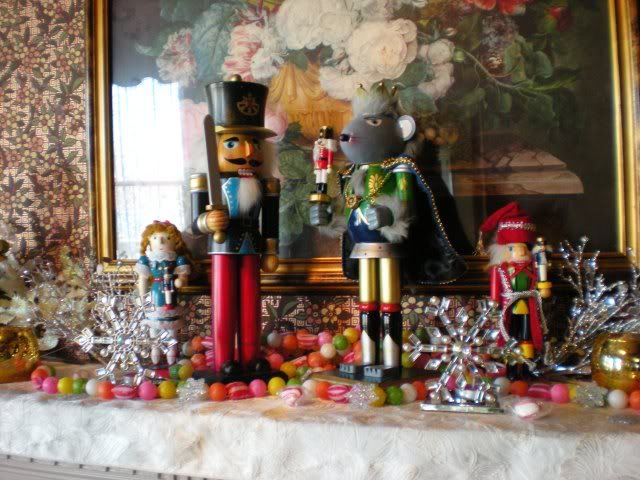
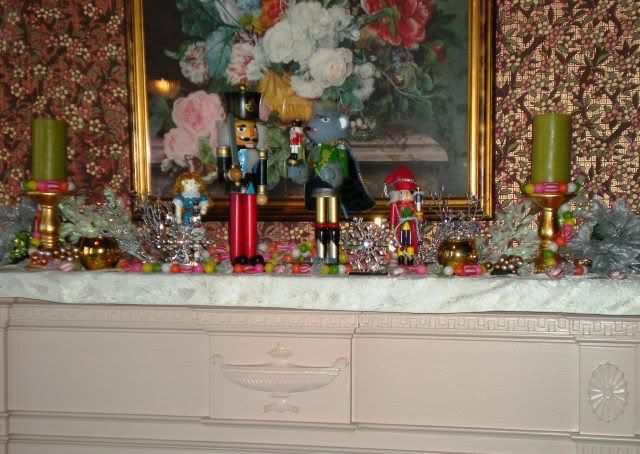
On the mantle in the dining room, I used nutcrackers from Target to continue the theme. These I had to buy, but all the elements on the table were from "shopping my house."

The Nutcracker faces the Mouse King

Photobucket

Clara & Herr Drosselmeyer look on surrounded by snowflakes and candy.

Photobucket

I hope you enjoyed my Nutcracker "Sweet" tablescape and will visit Susan at Between Naps on the Porch for Tablescape Thursday!

Tuesday, November 30, 2010

Tartan Christmas

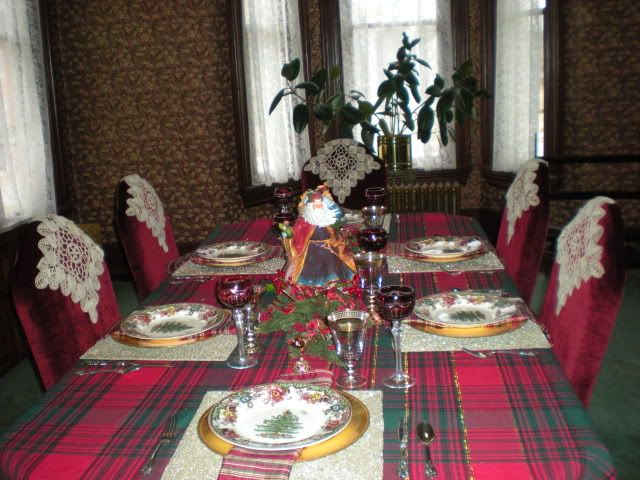
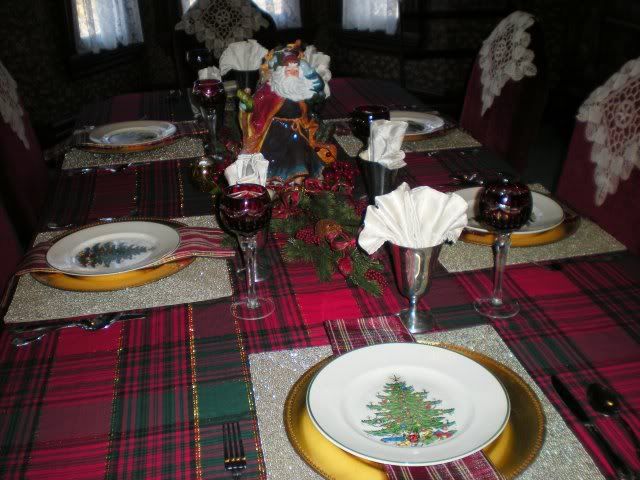
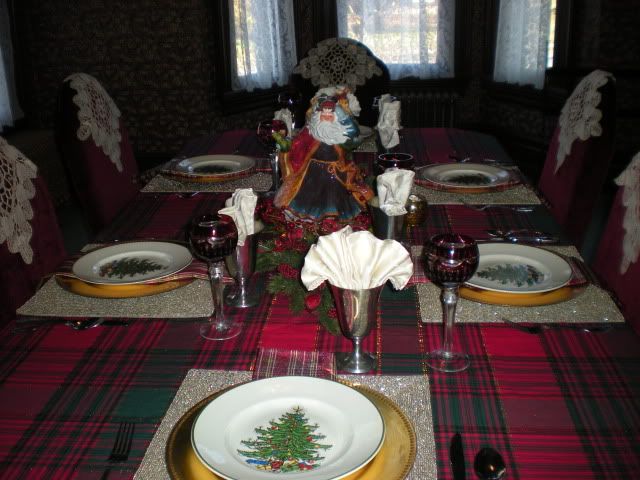
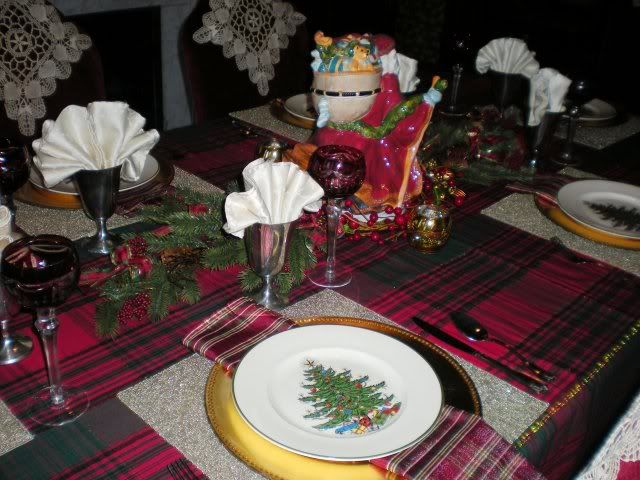
My dining room table is all ready for the Christmas season even if the rest of the house has some works still to be done! Here is my table decked out for a Tartan Christmas!
Photobucket

As usual I will be joining Susan at Between Naps on the Porch for Tablescape Thursday. Make sure you stop by her blog to see all the wonderful tablescapes!

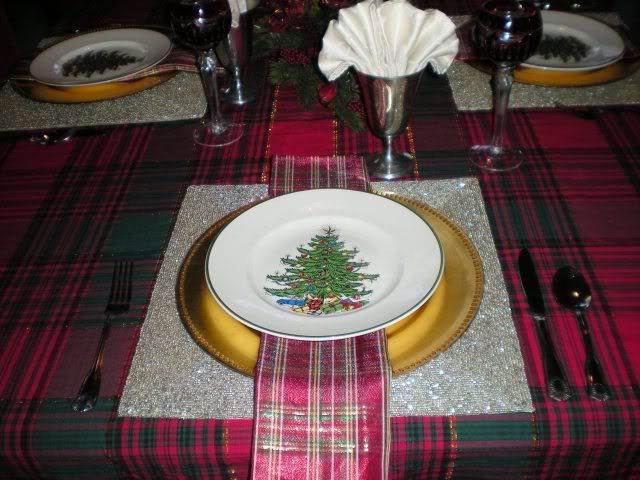
I started this table with a plaid tablecloth I bought on clearance last year. Next I added some square beaded chargers from Target. They are a warm silver. Next goes a gold beaded charger, then a plaid napkin from Bed, Bath & Beyond clearance last year and finally Original Christmas Tree plates by Cuthbertson.
 Photobucket

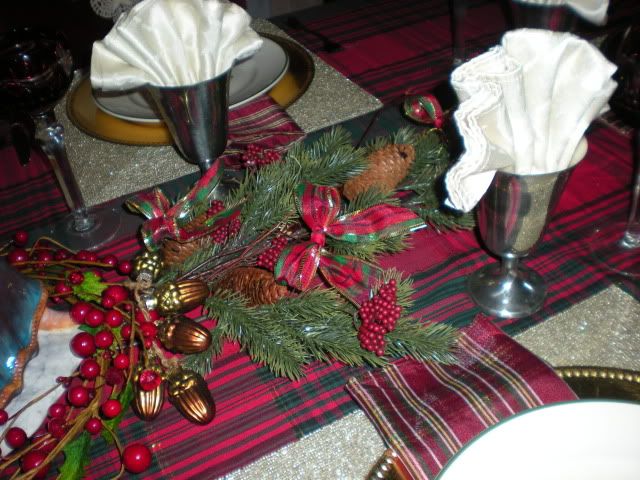
I used Colonial Shell flatware by Reed & Barton and Kirk Stieff pewter goblets as well as wine hocks from Ross-Simons from years ago. I placed an ivory napkin in the pewter goblet, because I liked how it looked and who doesn't need more napkins?

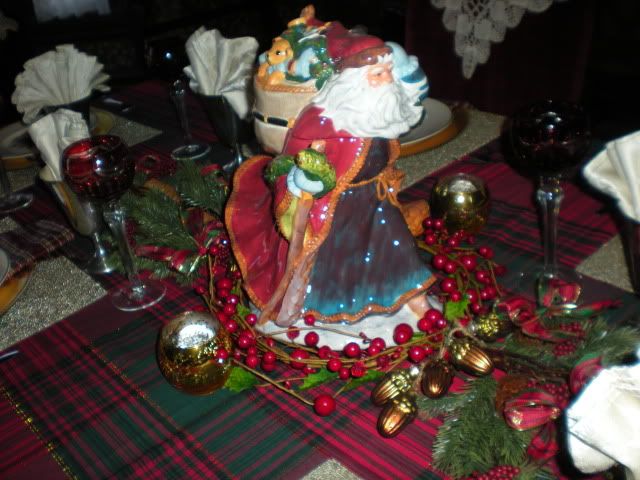
For my centerpiece, I used a Santa cookie jar surrounded by a red beaded wreath and flanked by evergreen boughs with pine cones and small plaid bows.

Photobucket

Photobucket

So here is my Tartan Christmas table - I hope I was able to capture both warmth and elegance in this tablescape!

Photobucket

Photobucket

Thursday, November 18, 2010

Fall Cakelets

Last week I shared with you my Nordic Cornucopia Pan from Williams Sonoma and this week and I am sharing my Fall Cakelet pan from the same source.

Photobucket

I will be linking this to Foodie Friday at Designs by Gollum. Be sure and check our all the wonderful links!


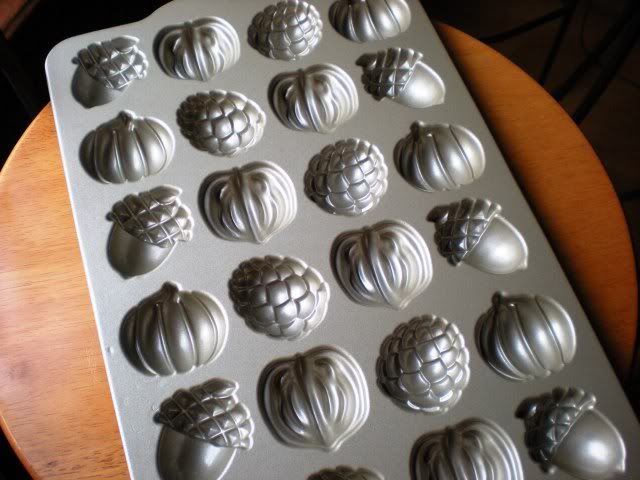
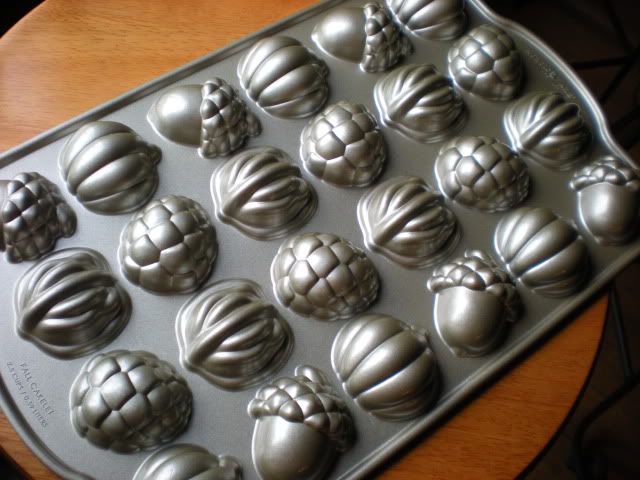
Here are two view of my Fall Cakelet Pan:
Concave
Photobucket

Convex
Photobucket

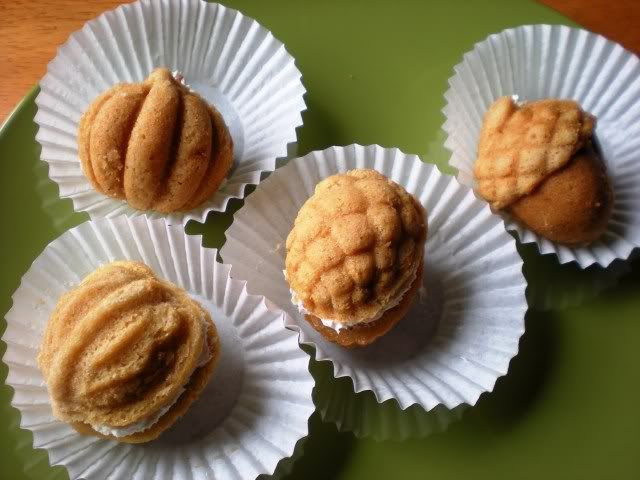
The designs are Pine Cone, Acorn, Pumpkin and Walnut.


I modified the recipe which came with the pan which called for maple sugar and a maple frosting;
I used brown sugar instead and canned whipped cream cheese frosting instead.


Fall Cakelets


1 3/4 c. All Purpose Flour
3/4 tsp. baking powder
3/4 tsp, salt
3/4 tsp. ground cinnamon
1/2 tsp ground ginger
1/8 tsp. ground cloves
1 1/2 tsp. vanilla
3/4 c. milk
12 Tbsp. unsalted butter (1 1/2 sticks)
3/4 c. brown sugar
1/3 c. sugar
3 eggs


Have all ingredients at ROOM TEMPURATURE.


Position a rack in the lower third of your oven and Preheat to 350 degrees.


Prepare pan by coating all the nooks and crannies with Wilton's Cake Release. I used Baker's Joy once and it caused bubbles in the finished product. You can also grease and flour the pan.


Sift all the dry ingredients together.


Add the vanilla to the milk.


In a mixer with a paddle blade, cream the butter for a minute on medium speed, then add the sugars and cream for 5 minutes.


Add the eggs one at a time, making sure that each is integrated into the butter mixture before adding the next. Scrape down the bowl often.


Cut the mixer onto low speed and add 1/3 of the flour mixture slowly. Scrape down the bowl. When all the flour is incorporated, add 1/2 the milk slowly and beat until it is incorporated. Scrape down the bowl.


Add the next 1/3 of the flour mixture slowly and scrape when it is incorporated. Then add the other 1/2 of the milk and scrape when it is incorporated. Slowly add the last 1/3 of the flour mixture.


Scrape down the bowl and make sure all ingredients have been incorporated.


Spoon a scant 1 1/2 Tbsp. batter into each cakelet mold. I have a small scooper which is the perfect amount. Don't over-fill the molds. Tap the pan several times to release bubbles and level the batter.


Bake for 12 mins. until center is set on each cakelet.


Let cool on wire rack for 10-15 mins. Then place the wire rack on the top of the pan and invert.


Wash and re-prepare the pan. This is the worst part, but they are so cute it is worth it!
Repeat until all the batter is gone. Makes about 60 cakelets (2 1/2 pans).


Williams Sonoma suggests you trim off the little bit that peaks up before you frost them, but I didn't want to lose any of the cakelet so I just slapped the frosting on and let that "level" things out.


Also, you don't need to frost - the cakelets are good on their own.


If you don't want to buy the pan, you could bake them in a mini-muffin pan. The cakelets are very light and fluffy.


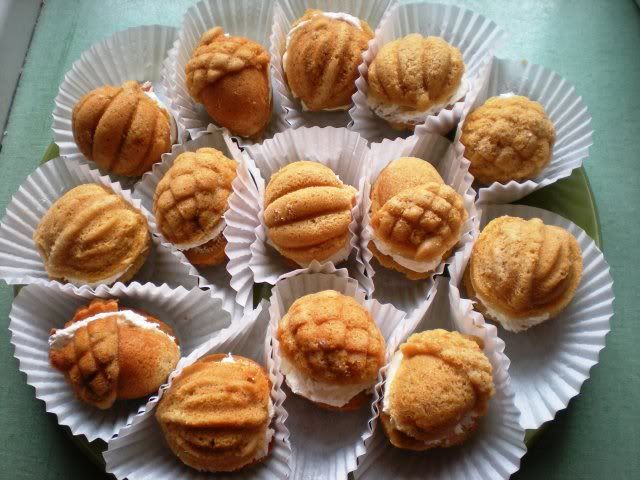
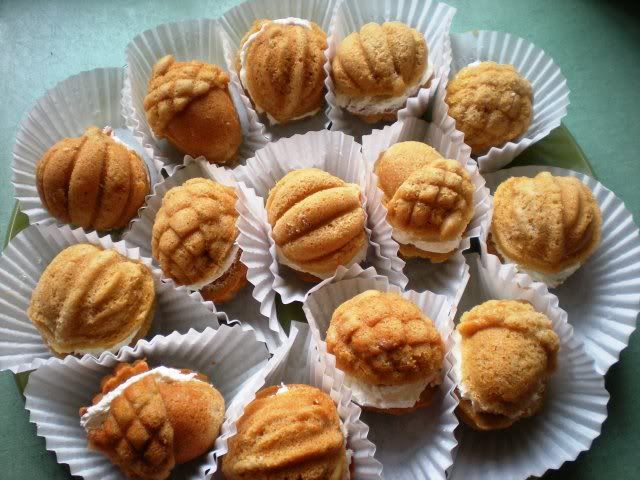
Here is a close-up of some of the finished cakelets.
Photobucket


And here is a whole platter:


Photobucket